
The exact sequence varies by home, equipment, jurisdiction, and project scope. This article describes an operating workflow, not engineering advice, a code interpretation, or a promise that every home needs the same checks. Qualified professionals should assess the specific property and determine which technical reviews apply.
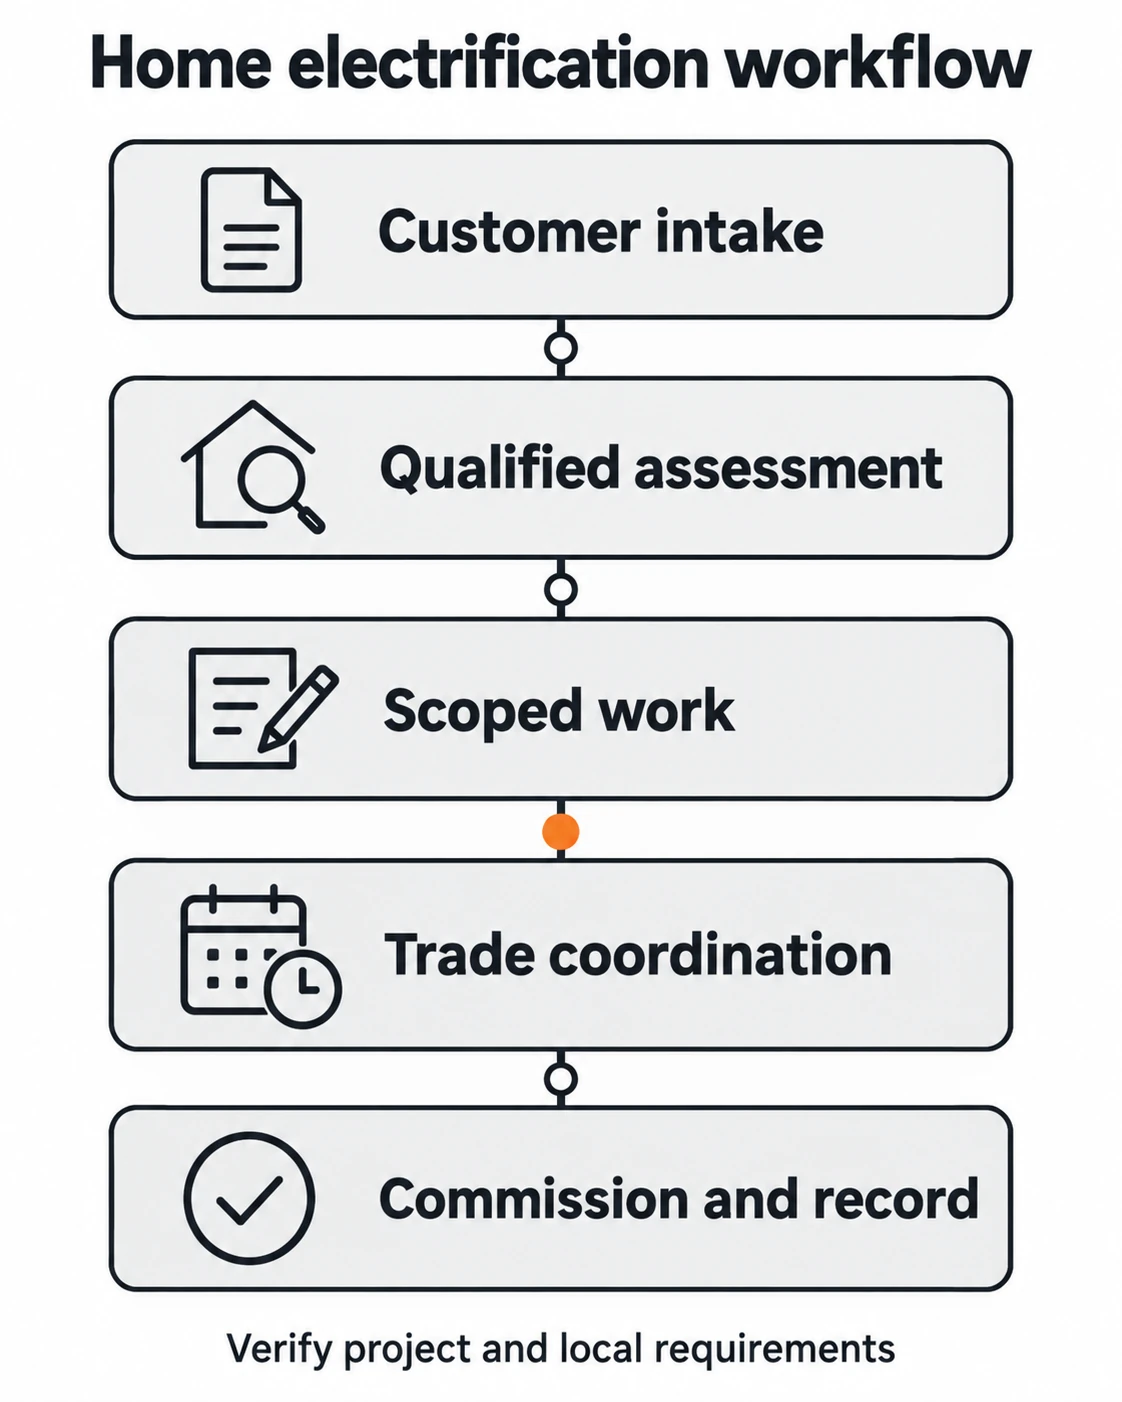
1. Intake: understand the intended outcome
Start by recording what the homeowner wants to change and why. Is the project focused on space conditioning, water heating, cooking, or a combination? What existing equipment is involved? Are there comfort concerns, planned renovations, timing constraints, or other work that may affect the sequence? These are intake questions, not conclusions about which product or design is appropriate.
Capture what is known and what still needs verification. A useful intake record identifies the property, decision-makers, preferred contact, existing system information if available, relevant documents, and any constraints the homeowner has raised. Avoid presenting an early conversation as a technical assessment. If a critical detail is unknown, label it unknown and assign the next step.
The homeowner should also understand how the team will communicate changes. Identify the person who will explain scope updates, the channel for questions, and how approvals will be recorded. If several trades or companies are involved, clarify who coordinates the overall sequence and who owns each technical decision.
2. Assessment: make the property-specific questions visible
An assessment should gather the information needed by the qualified professionals involved. Depending on the project, that may include equipment location, space, existing connections, access, ventilation or airflow considerations, drainage or condensate questions, electrical considerations, and interfaces with other work. The list is not a universal specification. The appropriate checks depend on the equipment and property.
The U.S. Department of Energy published contractor resources in 2024 describing decision tools for retrofit projects, heat-pump water heaters, and cold-climate heat pumps. Its presentation notes that the tools consider factors such as sizing, space, airflow, condensate, and electrical considerations, with results tailored to a specific home. This is one U.S. example of why a property-specific assessment matters; it is not a checklist that applies identically to every home or location. DOE contractor decision-tool presentation
Make evidence easy to find. The record might include photos, equipment labels, measurements, and questions for the relevant professional. Note who collected each item and when. Protect homeowner information and follow the organization’s applicable privacy procedures. If the assessment uncovers a question outside the assigned professional’s role, route it to the qualified person rather than guessing.
3. Scope: define what is included and what is not
Translate the assessment into a scope the homeowner can review. Describe the intended work in plain language, identify equipment and associated work at the appropriate level, list assumptions, and state exclusions or unresolved items. Make clear which party supplies, installs, connects, tests, documents, or removes each component when those responsibilities are part of the agreement.
Record the decision owner and the source of the decision. A homeowner’s preference, a contractor’s recommendation, and a design determination are different things. Show where a decision is pending, what information is needed, and whether it affects pricing, sequence, or the proposed start. If scope changes, use the project’s agreed approval and change-control process.
This step prevents a common coordination failure: every participant assumes someone else owns a dependency. A responsibility table can name each trade or party, its deliverable, the predecessor information it needs, and the expected handoff. The table does not replace contracts, permits, or professional review. It makes coordination visible.
4. Dependencies: sequence the work across trades
Before scheduling installation, list the conditions and work that must happen first. Depending on the scope, dependencies could include a site decision, equipment availability, a separate trade, a required review, access coordination, or completion of related renovation work. Verify the actual dependency with the relevant party. Do not assume that a generic project template tells you which permits, approvals, or inspections apply.
Give each dependency an owner, next action, target date, and status. If one item moves, review downstream dates and notify affected participants. A shared tracker or project board can help, but only if each owner updates it and the team has a clear way to resolve conflicts. Keep the homeowner-facing view understandable; internal task labels should not obscure what the homeowner needs to decide.
Illustrative example: A household plans an equipment replacement while another renovation is underway. The installer’s assessment raises a question about how the proposed equipment location interacts with the other work. The project coordinator records the question, identifies the professionals who need to resolve it, and holds the affected scope decision until the answer is documented. This example shows a handoff pattern, not a recommendation for a specific home.
5. Installation and closeout: preserve the decision trail
The installation phase should follow the approved scope and the instructions of qualified professionals. The coordinator’s role is to maintain the schedule, surface dependencies, route questions, and record agreed changes. A project tracker should distinguish planned work from completed work and identify who confirmed completion.
At closeout, gather the records the project team agreed to provide. That might include equipment information, applicable professional documentation, homeowner instructions, warranty materials, service contacts, and a record of unresolved follow-up items. The exact handover depends on the scope and applicable requirements. Confirm the recipient and delivery method rather than assuming that uploading a file completes the handoff.
Review what created friction. Were intake details missing? Did an interface lack an owner? Did a decision arrive after the schedule depended on it? Use those observations to improve the workflow through the organization’s normal change process. Do not treat one project’s unusual condition as a universal rule.
For teams coordinating repeated handoffs across a service line, Workflow Systems Implementation describes support for implementing connected workflows and systems. For a focused conversation about operating friction and a practical next step, book a 30-minute Operations Review. Neither service replaces a qualified assessment of a particular home.
Frequently asked questions
Does every home electrification project follow the same steps?
No. The workflow provides a coordination structure, while the technical questions and sequence depend on the property, equipment, scope, professionals, and applicable requirements. Treat the checklist as a way to assign questions, not as a universal design standard.
Who decides whether a home is suitable for particular equipment?
The qualified professional responsible for the assessment should evaluate the specific home and equipment. A coordinator can gather information and make the decision trail visible, but should not replace that professional judgment.
Should incentives or rebates be part of the project workflow?
If the homeowner asks, assign an owner to verify current program information from the relevant official source. Programs and eligibility can change. This article does not quote incentive amounts or promise eligibility.
What is the most useful project record?
Keep a current scope, responsibility and dependency list, decision log, schedule, and agreed closeout record. The useful record is the one that identifies who must act next and preserves the decision that changed the plan.